Rainwater, leaves, dirt and draughts can enter your garage through the gap beneath the door. Sealing garage door gaps can help reduce these problems, keeping your garage cleaner and better protected from the elements. There are two main ways to seal the bottom of your garage door: by fitting a rubber seal directly to the door or by installing a threshold seal along the garage floor.
Here’s how to choose between them and what you need to know before fitting each type.
CHECK THE GAP UNDER YOUR GARAGE DOOR
Before choosing a garage door sealing strip, check the gap along the bottom of your garage door. Look for daylight coming through, water entering during wet weather, or leaves and dirt collecting inside. If your existing seal is damaged or worn, replacing it may help improve the fit.
Checking these areas before sealing garage door gaps can help you identify which type of seal is most suitable.
RUBBER GARAGE DOOR SEALS
A Rubber Garage Door Seal attaches directly to the door to help close the gap along its edge. Formseal’s Garage Door Rubber Seal features a weather-resistant EPDM rubber insert and an aluminium carrier. It can be used at the top or bottom of a garage door. For sealing garage door gaps along the bottom edge, the rubber provides continuous contact with the floor when the door is closed correctly.
HOW TO FIT A RUBBER GARAGE DOOR SEAL
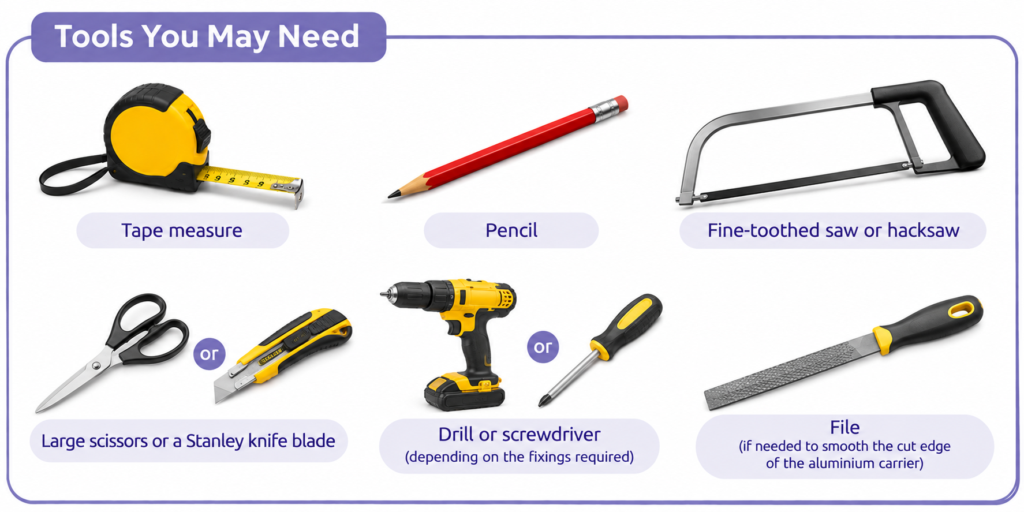
- Tape measure
- Pencil
- Fine-toothed saw or hacksaw
- Large scissors or a Stanley knife blade
- Drill or screwdriver, depending on the fixings required
- File, if needed to smooth the cut edge of the aluminium carrier
FITTING INSTRUCTIONS
- Measure the required length: Measure the section of the garage door where the seal will be fitted and mark the required length.
- Remove the rubber insert: Slide the rubber out of the aluminium carrier before cutting. Do not cut both parts together.
- Cut the aluminium carrier: Use a fine-toothed saw or hacksaw to cut the carrier to the required length. File the cut edge if necessary.
- Cut the rubber insert: Use large scissors or a sharp utility knife, such as a Stanley knife, to trim the rubber to the same length.
- Refit the rubber insert: Slide the rubber back into the aluminium carrier. If it is difficult to insert, lightly file the carrier edge or apply a small amount of light oil inside the channel.
- Secure the seal: Attach the carrier to the garage door using suitable fixings for the door material and installation.
- Check the fit: Make sure the rubber seal makes firm contact with the surface it is intended to seal against, without being excessively bent or preventing the door from closing properly.
You can view our Cutting and Fitting Instructions for Rubber Garage Door Seals for further guidance:
GARAGE DOOR THRESHOLD SEAL
A threshold seal is fitted to the garage floor rather than the door. When the door closes, it meets the raised rubber seal to help reduce the entry of water, leaves and debris. This makes a floor threshold seal another option for sealing garage door gaps, particularly where water or debris enters beneath the door.
Formseal’s Garage Door Floor Threshold Seal is designed for domestic and commercial garage doors. You can also choose the Floor Seal Threshold Kit, which includes the seal and the materials needed for installation. Did you know that you can also purchase Soudal 40FC sealant in black directly from us?
HOW TO FIT A RUBBER GARAGE DOOR THRESHOLD SEAL
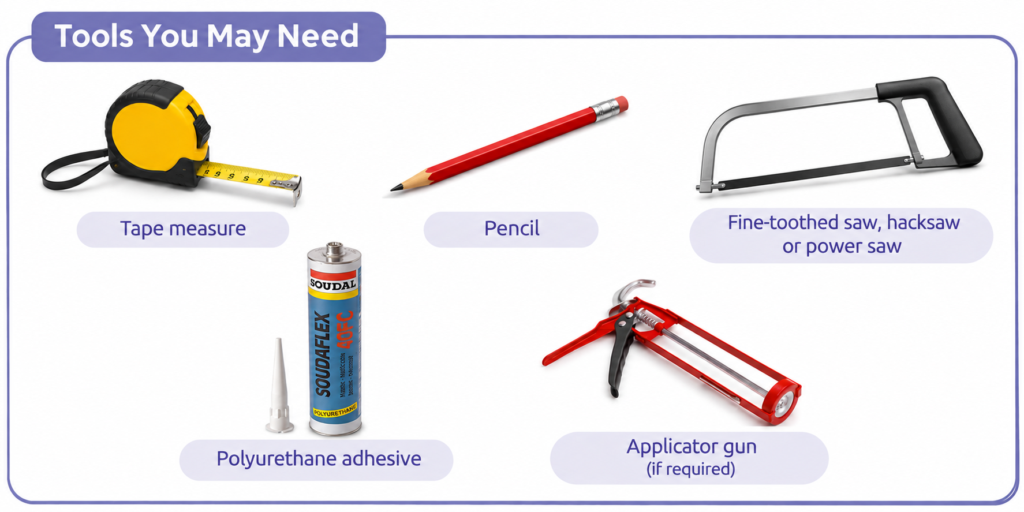
- Tape measure
- Pencil
- Fine tooth saw, hacksaw, power saw or similar
- Polyurethane adhesive
- Applicator gun, if required
FITTING INSTRUCTIONS
- Remove the old seal: If there is an existing threshold seal, remove it and clear away any remaining adhesive.
- Measure the opening: Measure the garage door opening from brickwork to brickwork.
- Trim the threshold seal: Cut it to the required length and make any necessary cuts to fit around the door frame.
- Clean the floor: Ensure the surface is dry and free from dust, grease and debris. Follow the adhesive manufacturer’s surface preparation instructions.
- Position the seal: With the garage door closed, place the threshold against the inside of the door, sliding its thinnest part underneath. Mark the position on the floor.
- Apply the adhesive: Open the door and apply the recommended polyurethane adhesive within the marked area, following the product instructions.
- Secure the seal: Press the threshold firmly into the adhesive along its length. Clean away excess adhesive.
- Allow it to set: Leave the adhesive to cure for 24 hours before using the door as normal. Metal fixings may also be advisable, particularly where vehicles will drive over the seal.
You can view our Cutting and Fitting Instructions for Garage Door Threshold Seals for further guidance:
WHICH SEAL IS BEST FOR SEALING YOUR GARAGE DOOR GAPS?
A rubber seal attaches directly to the garage door, while a threshold seal sits on the floor beneath it. The best option for sealing garage door gaps will depend on your door type, the size of the gap and the condition of the floor.
Both options can help reduce the entry of rainwater, leaves, dirt and draughts when fitted correctly.
Related Blogs
Can Rodent Seals Help Prevent Pests Entering Your Garage?
03/11/2026Small gaps around a garage door can provide easy entry points for unwanted pests. Learn how to spot these gaps, how garage door seals can help and what else you can do to keep pests out.